Chapter 4
System Administration
RUGGEDCOM ROX II
User Guide
210 Adding a Certificate
Parameter Description
production in Section 5.6 of RFC 3339. The date-and-time type is compatible with the
dateTime XML schema type with the following notable exceptions: (a) The date-and-time
type does not allow negative years. (b) The date-and-time time-offset -00:00 indicates an
unknown time zone (see RFC 3339) while -00:00 and +00:00 and Z all represent the same
time zone in dateTime. (c) The canonical format (see below) of data-and-time values differs
from the canonical format used by the dateTime XML schema type, which requires all times
to be in UTC using the time-offset 'Z'. This type is not equivalent to the DateAndTime textual
convention of the SMIv2 since RFC 3339 uses a different separator between full-date and
full-time and provides higher resolution of time-secfrac. The canonical format for date-and-
time values with a known time zone uses a numeric time zone offset that is calculated using
the device's configured known offset to UTC time. A change of the device's offset to UTC
time will cause date-and-time values to change accordingly. Such changes might happen
periodically in case a server follows automatically daylight saving time (DST) time zone
offset changes. The canonical format for date-and-time values with an unknown time zone
(usually referring to the notion of local time) uses the time-offset -00:00.
This certificate is not valid after this date.
Section 4.7.4.3
Adding a Certificate
To add a certificate, do the following:
NOTE
Only admin users can read/write certificates and keys on the device.
1. Make sure the required CA certificates, public keys and/or private keys have been added to the device.
• For more information about adding CA Certificates, refer to Section 4.7.1.3, “Adding a CA Certificate and
CRL”
• For more information about adding public keys, refer to Section 4.7.3.2, “Adding a Public Key”
• For more information about adding private keys, refer to Section 4.7.2.2, “Adding a Private Key”
2. Change the mode to Edit Private or Edit Exclusive.
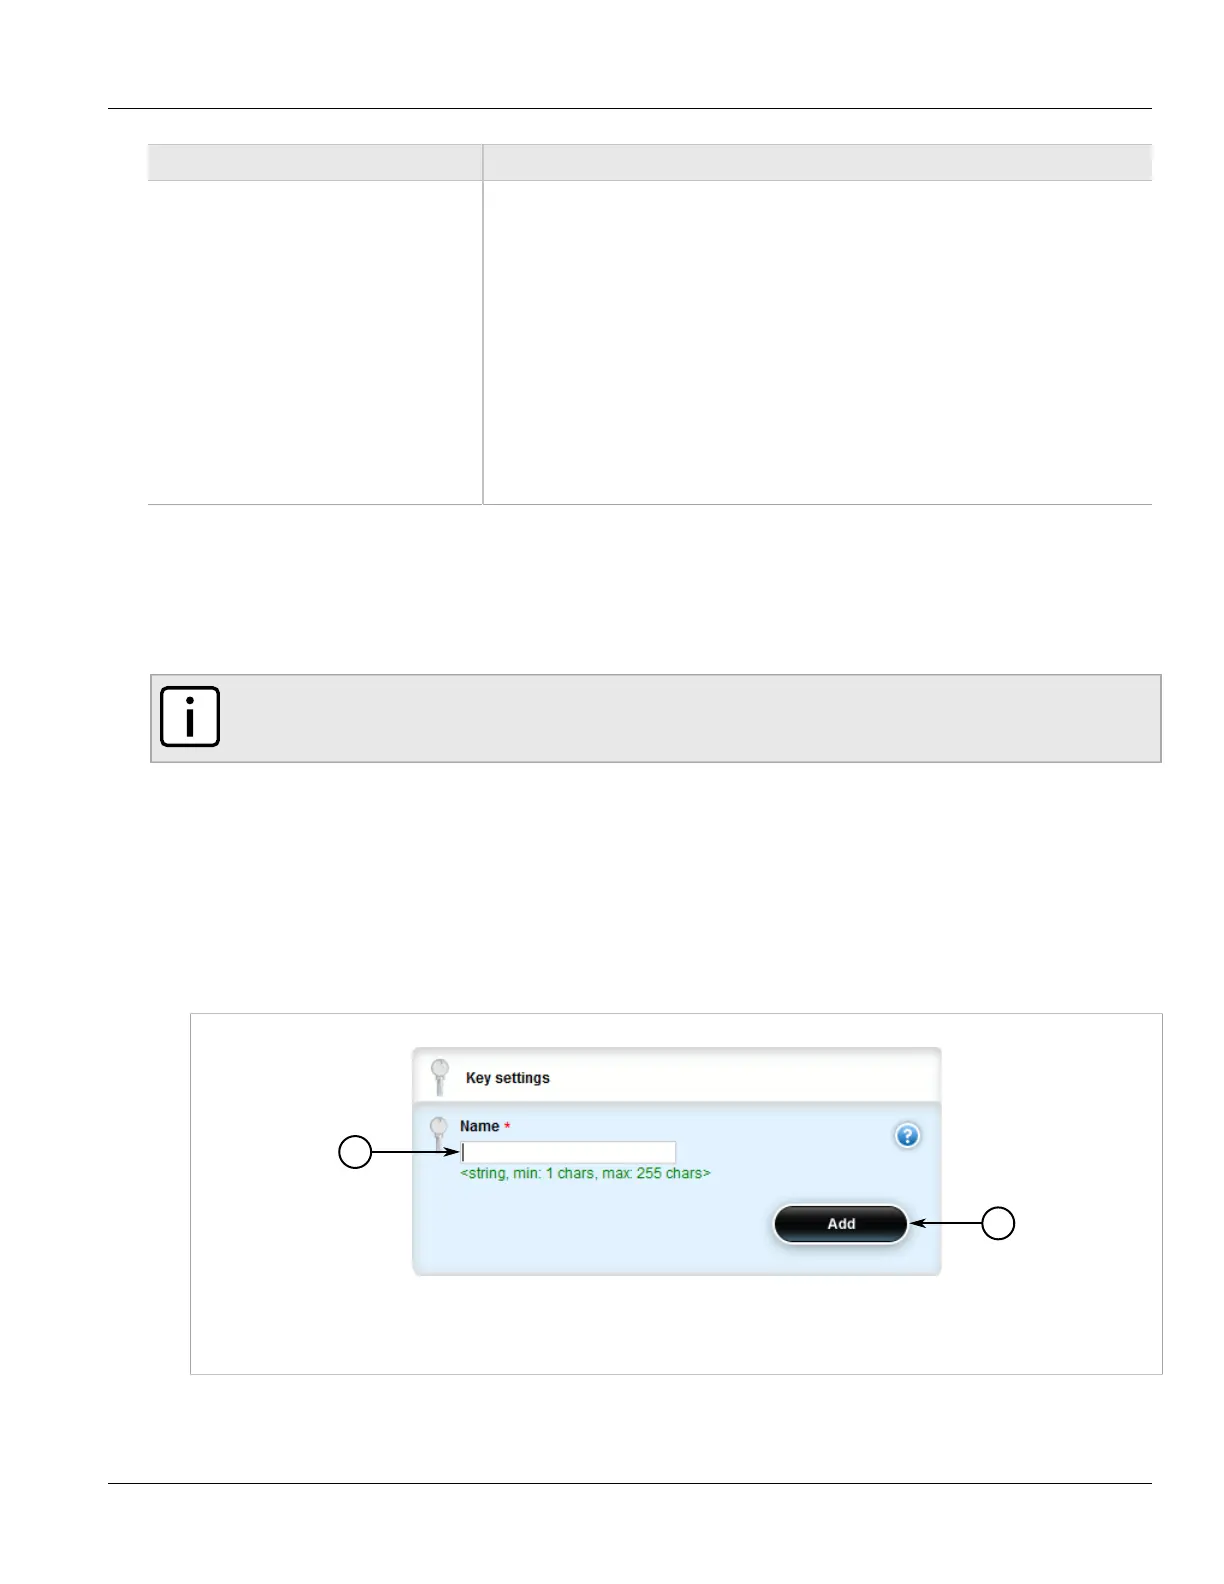
3. Navigate to security » crypto » certificate and click <Add certificate>. The Key Settings form appears.
Figure 223: Key Settings Form
1. Name Box 2. Add Button
4. Configure the following parameter(s) as required:

 Loading...