RUGGEDCOM ROX II
User Guide
Chapter 5
Setup and Configuration
Adding a Firewall 371
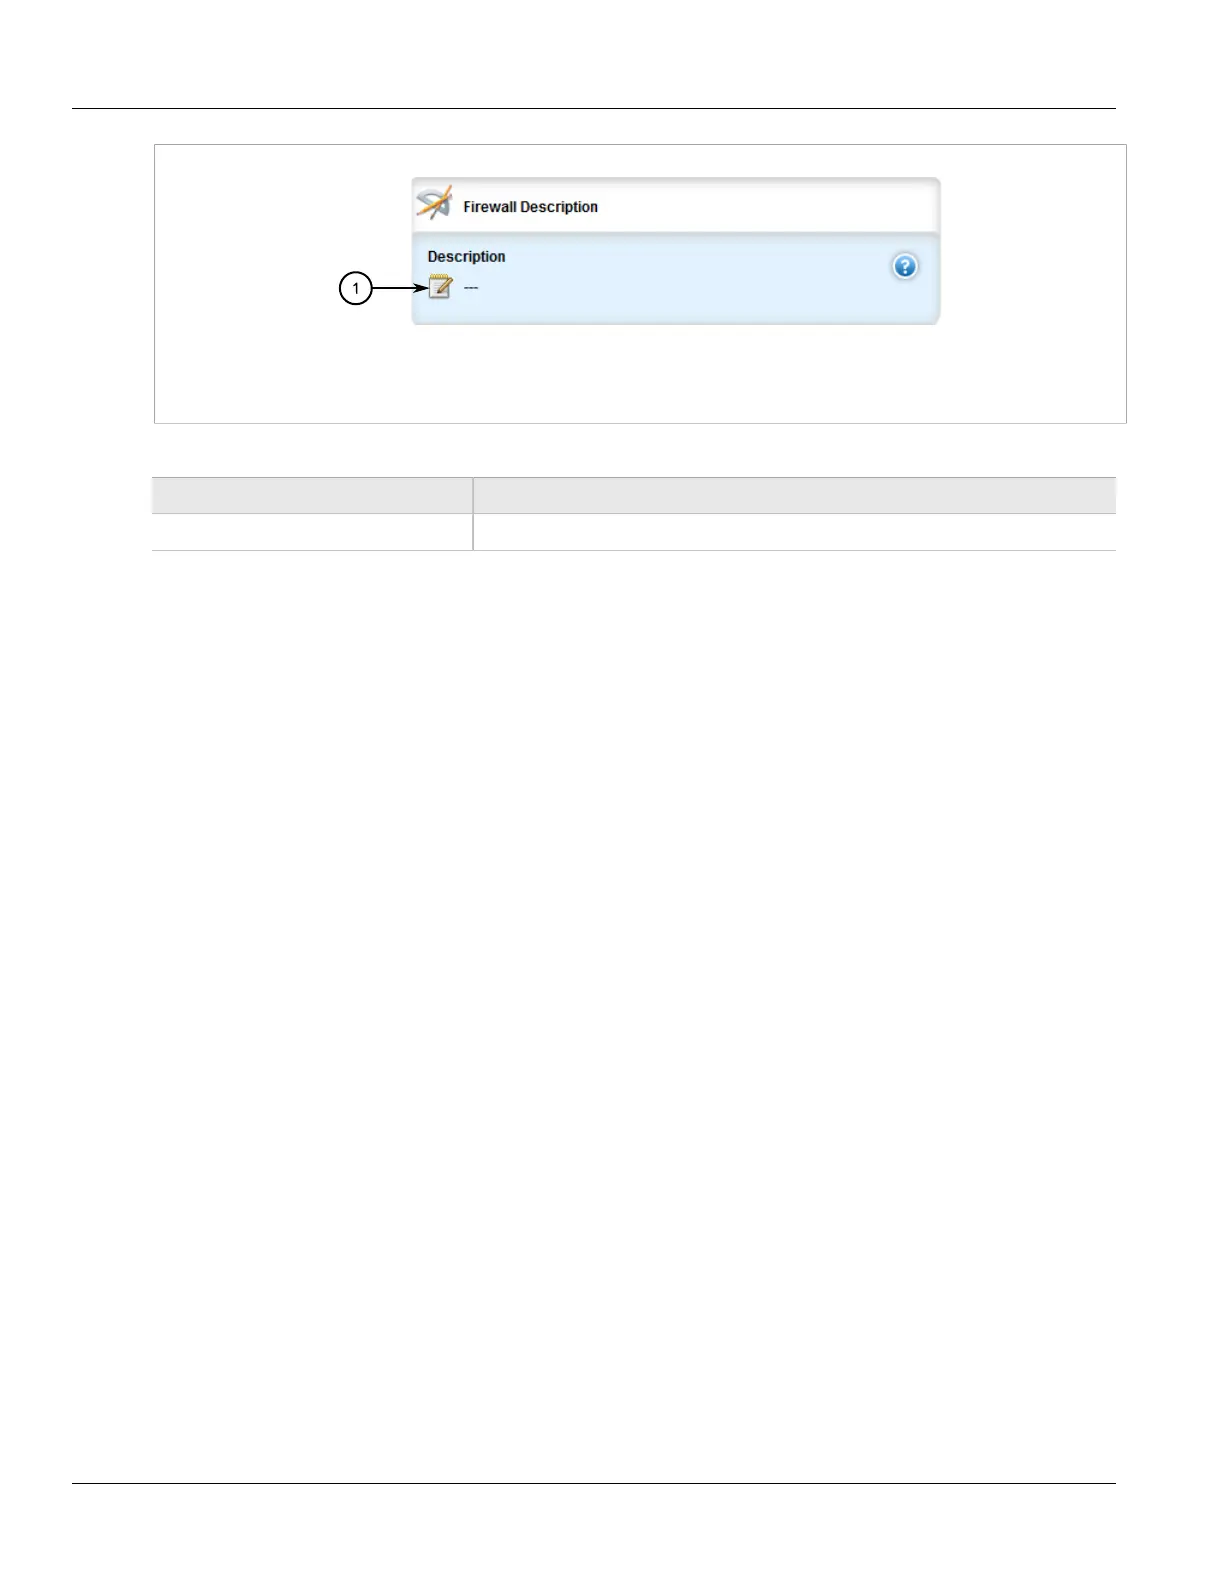
Figure 405: Firewall Description Form
1. Description Box
5. Configure the following parameter(s) as required:
Parameter Description
Description An optional description string.
6. Add interfaces associated with the firewall. For more information about adding interfaces, refer to
Section 5.17.9.2, “Adding an Interface”.
7. Add network zones for the firewall. Make sure a zone with the type firewall exists. For more information
about adding network zones, refer to Section 5.17.8.2, “Adding a Zone”.
8. Associate an interface with each zone. For more information about associating interfaces with zones, refer to
Section 5.17.9.3, “Associating an Interface with a Zone”.
9. Set the default policies for traffic control between zones. Make sure the policies are as restrictive as possible.
For more information about configuring policies, refer to Section 5.17.11, “Managing Policies”.
10. Configure the network address translation (NAT), masquerading or static network address translation (SNAT)
settings. For more information about configuring NAT settings, refer to Section 5.17.12, “Managing Network
Address Translation Settings”. For more information about configuring masquerading and/or SNAT settings,
refer to Section 5.17.13, “Managing Masquerade and SNAT Settings”.
11. If hosts on the network must accept sessions from the Internet, configure the firewall to support Destination
Network Address Translation (DNAT). For more information about configuring hosts, refer to Section 5.17.10,
“Managing Hosts”.
12. If required, configure rules that override the default policies. For more information about configuring rules,
refer to Section 5.17.14, “Managing Rules”.
13. If required, configure support for a VPN. For more information, refer to:
• Section 5.17.6, “Configuring the Firewall for a VPN”
• Section 5.17.7, “Configuring the Firewall for a VPN in a DMZ”
14. Validate the configuration. For more information about validating a firewall configuration, refer to
Section 5.17.15, “Validating a Firewall Configuration”.
15. Enable the firewall. For more information, refer to Section 5.17.16, “Enabling/Disabling a Firewall”.
16. Click Commit to save the changes or click Revert All to abort. A confirmation dialog box appears. Click OK
to proceed.
17. Click Exit Transaction or continue making changes.
 Loading...