January 2007
4-28
WorkCentre 7132
REP 4.1.3, REP 4.1.4
Reversion 4.0
Repairs/Adjustments
Figure 3 Removing the Developer Bias Brush
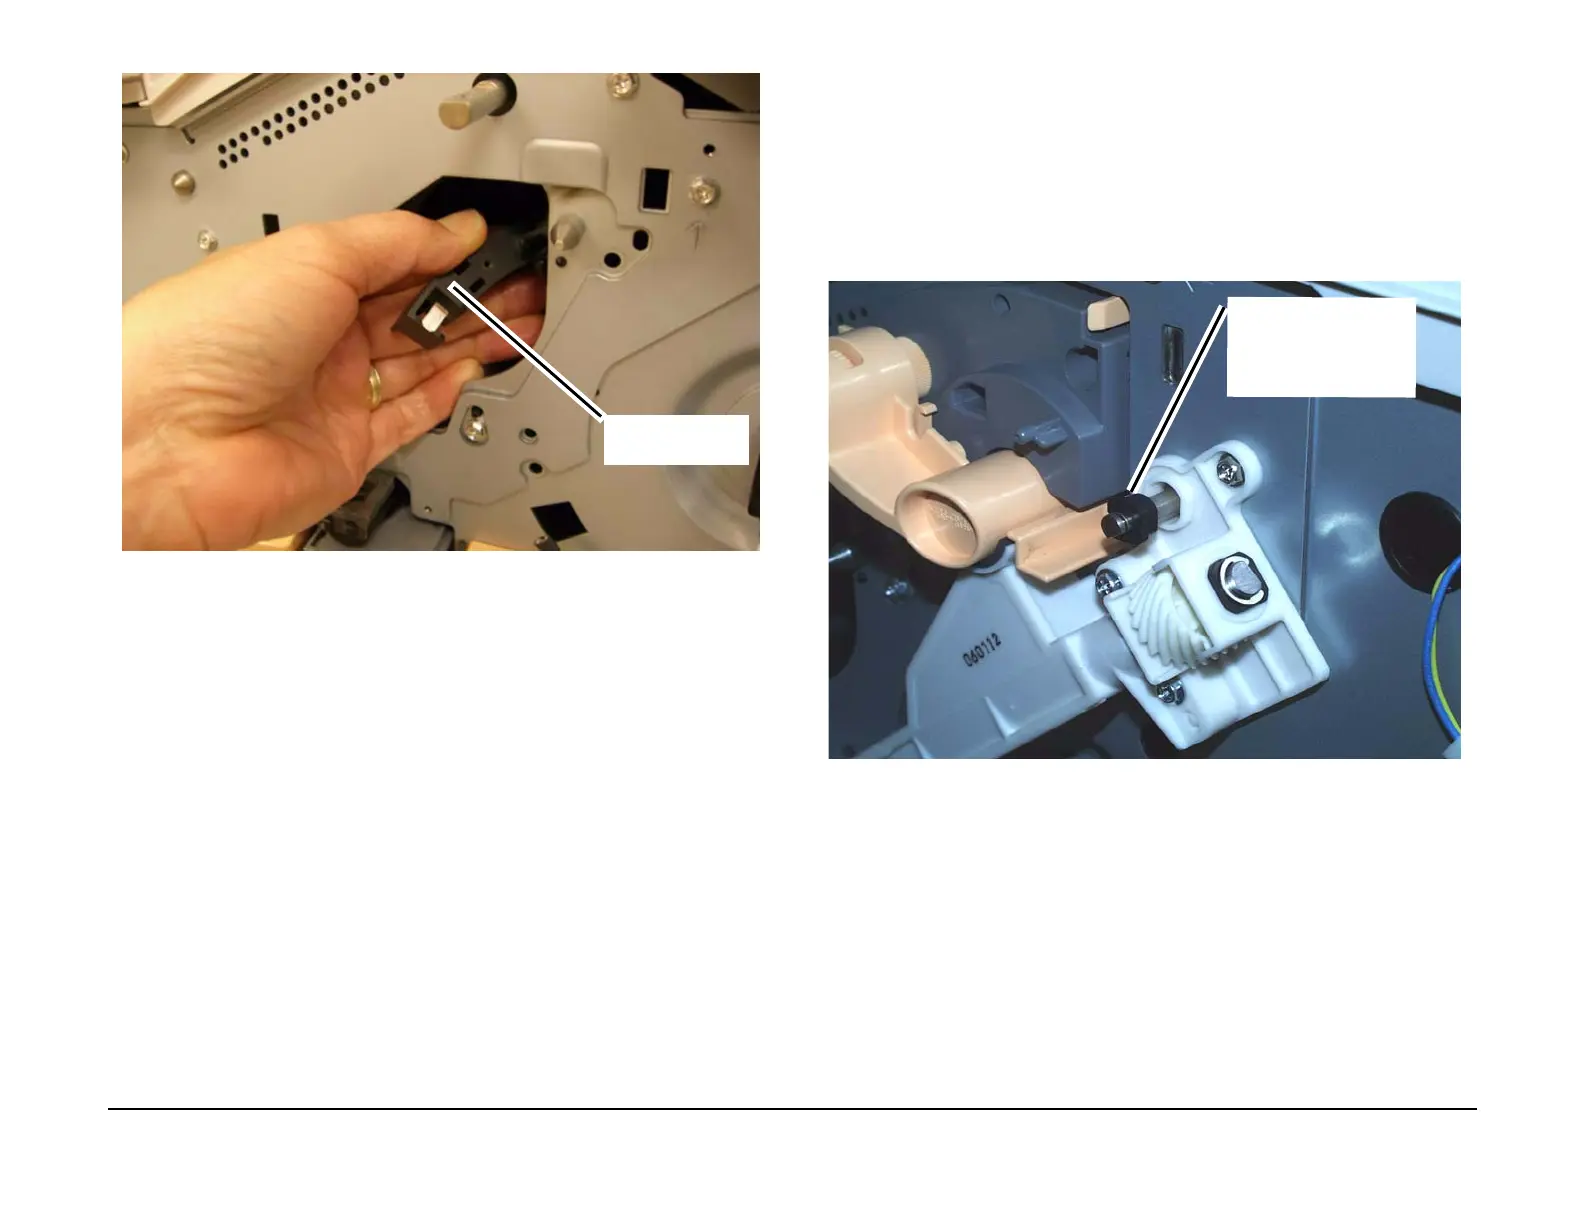
REP 4.1.4 Waste Toner Auger
Parts List on PL 6.1
Removal
WARNING
To avoid personal injury or shock, do not perform repair or adjustment with electrical
power applied to the machine.
1. Switch off the power and disconnect the power cord.
2. Remove the Waste Auger drive shaft bushing. (Figure 1)
Figure 1 Removing the Waste Auger drive shaft bushing
NOTE: In the next step, place a sheet of paper under the opening in the Waste Auger when
removing it from the frame.
3. Remove the Waste Auger. (Figure 2)
Developer Bias
Brush
2
Remove the Waste Auger
drive shaft bushing

 Loading...


