January 2007
4-3
WorkCentre 7132
REP 1.1.1
Repairs/Adjustments
Reversion 4.0
REP 1.1.1 Main Drive Assembly
Parts List on PL 1.1
Removal
WARNING
To avoid personal injury or shock, do not perform repair or adjustment with electrical
power applied to the machine.
CAUTION
Check that “Ready to Copy” is displayed on the Control Panel display.
1. Switch off the power and disconnect the Power Cord.
NOTE: Do not cut cable ties to remove. Cable ties are designed to be disconnected from
the frame and reinstalled.
2. Remove the Rear Lower Covers. (REP 10.2.1)
3. Remove the MCU PWB Chassis (REP 9.1.1)
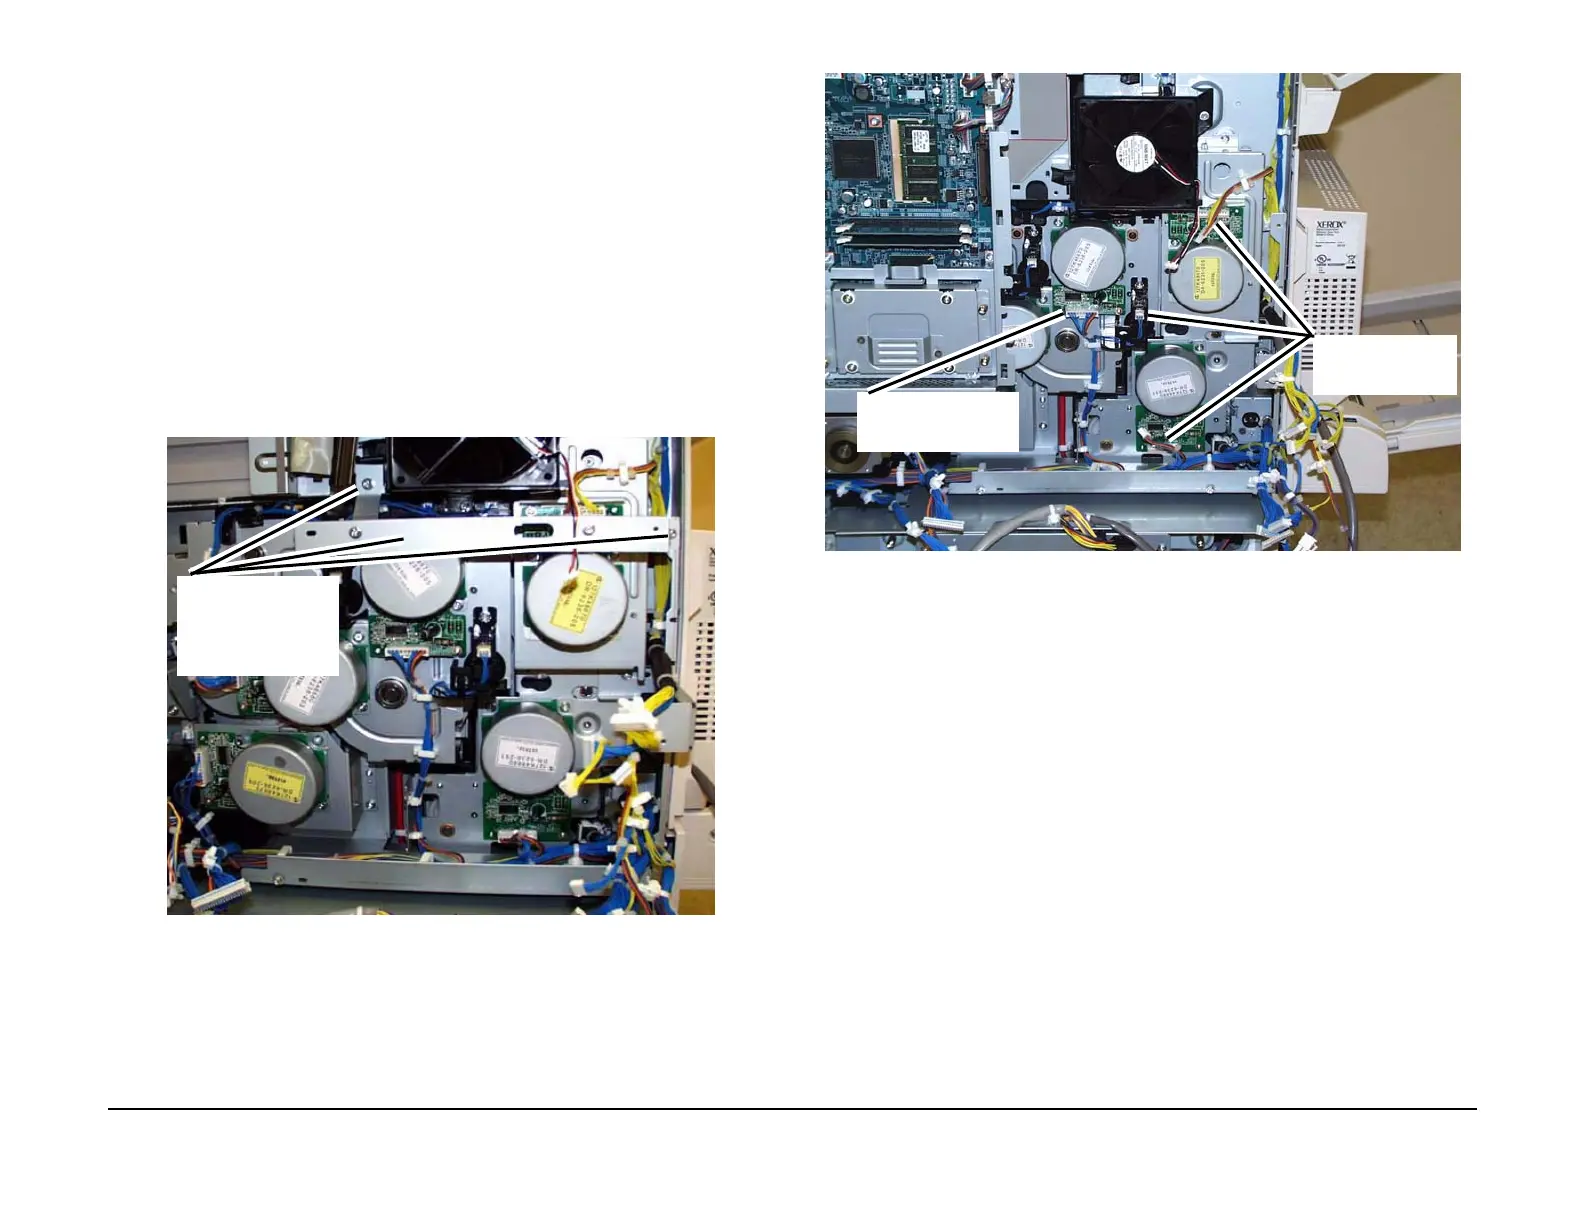
4. Remove the support bracket. (Figure 1)
Figure 1 Removing the support bracket
5. Disconnect the connectors on the Main Drive Assembly and the Drum Drive Assembly.
(Figure 2)
Figure 2 Disconnecting the connectors (4)
6. Remove the cable harnesses from the harness clamps and remove the cable ties from
the frame. (Figure 3)
1
Remove the screws
(2) then remove the
bracket
1
Disconnect the
connectors (3)
2
Disconnect the con-
nector (1)

 Loading...


