January 2007
4-47
WorkCentre 7132
REP 4.2.7, REP 4.2.8
Repairs/Adjustments
Reversion 4.0
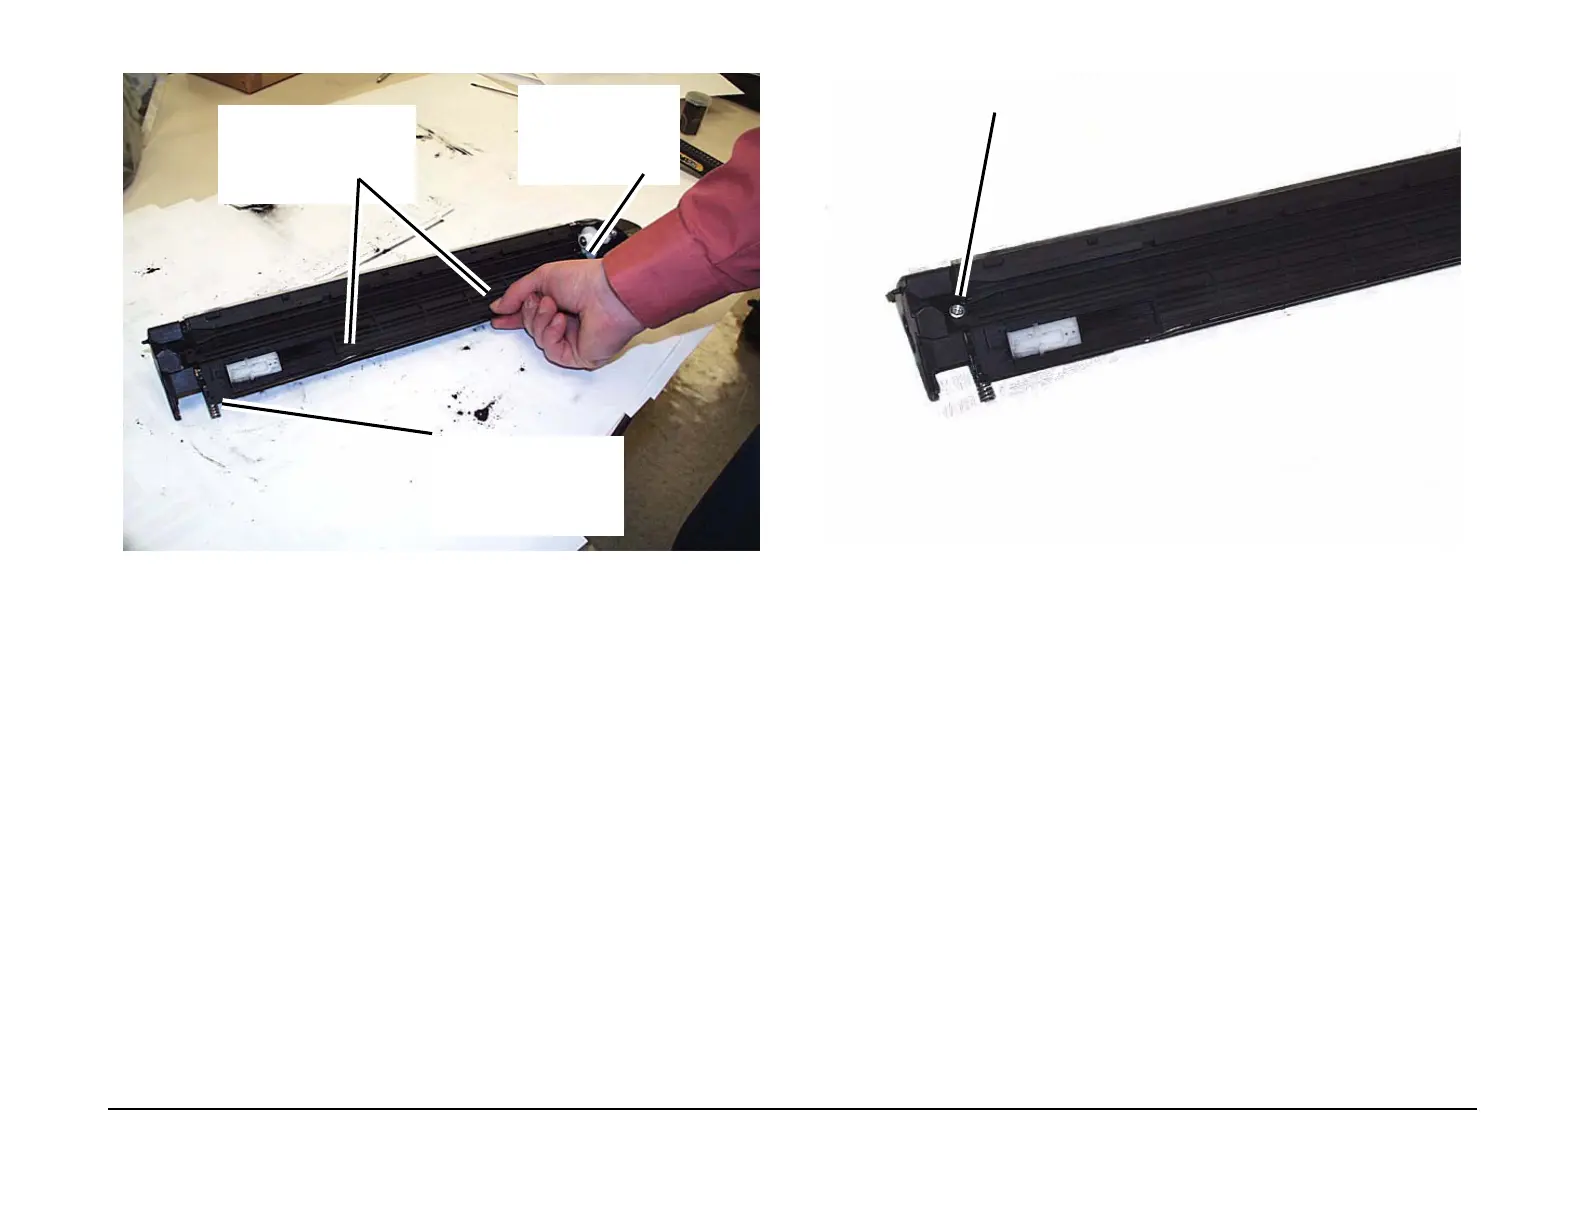
Figure 8 Locking the Cover tabs
12. Install the screw (1). (Figure 9)
Figure 9 Install the screw (1)
13. Reinstall the Developer Housing into the machine. (REP 4.1.1)
14. Enter UI Diagnostic Mode and select NVM Read/Write and reset the following NVM loca-
tions to zero.
• 752-086 = Yellow
• 752-087 = Magenta
• 752-088 = Cyan
• 752-089 = Black
15. Perform Max Setup. (ADJ 9.1.2)
1
Squeeze the Cover
and housing together
to lock the tab on the
inboard end first
3
Squeeze the Cover and
housing together to latch
the remaining tabs
2
Squeeze the Cover and
housing together to lock
the tab on the outboard
Install the screw (1)

 Loading...


