Shape Search II
158
FH/FZ5 Processing Item Function Reference Manual
Model Registration (Shape Search II)
Register the parts to measure as the model.
The model information includes the position of the model. So p
lace the target in the correct position in the
registration process.
1 Click [Model] tab.
When setting a new model, you do not have to click [Model]. The tab is already being selected.
2 Use the Drawing tools to specify the model registration range.
3 To save the entire image used for model
registration, place a check at the "Save
reg. model" option.
4 Click [OK] in the Figure setting area.
• [OK]: Changes the settings and returns to the previous menu.
• [Cancel]: Changes are discarded. R
eturns to the previous menu.
• [Apply]: Updates the settings without leaving edit window.
Changing model parameters
If the light and dark of the background and the workpiece, such as a shiny workpiece, reverses, specify the
"Reverse" setting as necessary.
After changing a setting, re-register the model.
1 Click [Detail setting].
2 In the "Model parameter" area, set
"Reverse".
• If you save the registered model image, you can re-register the model with the same image after model
parameters are adjusted. Note that the scene data size increases when a registered model image is saved.
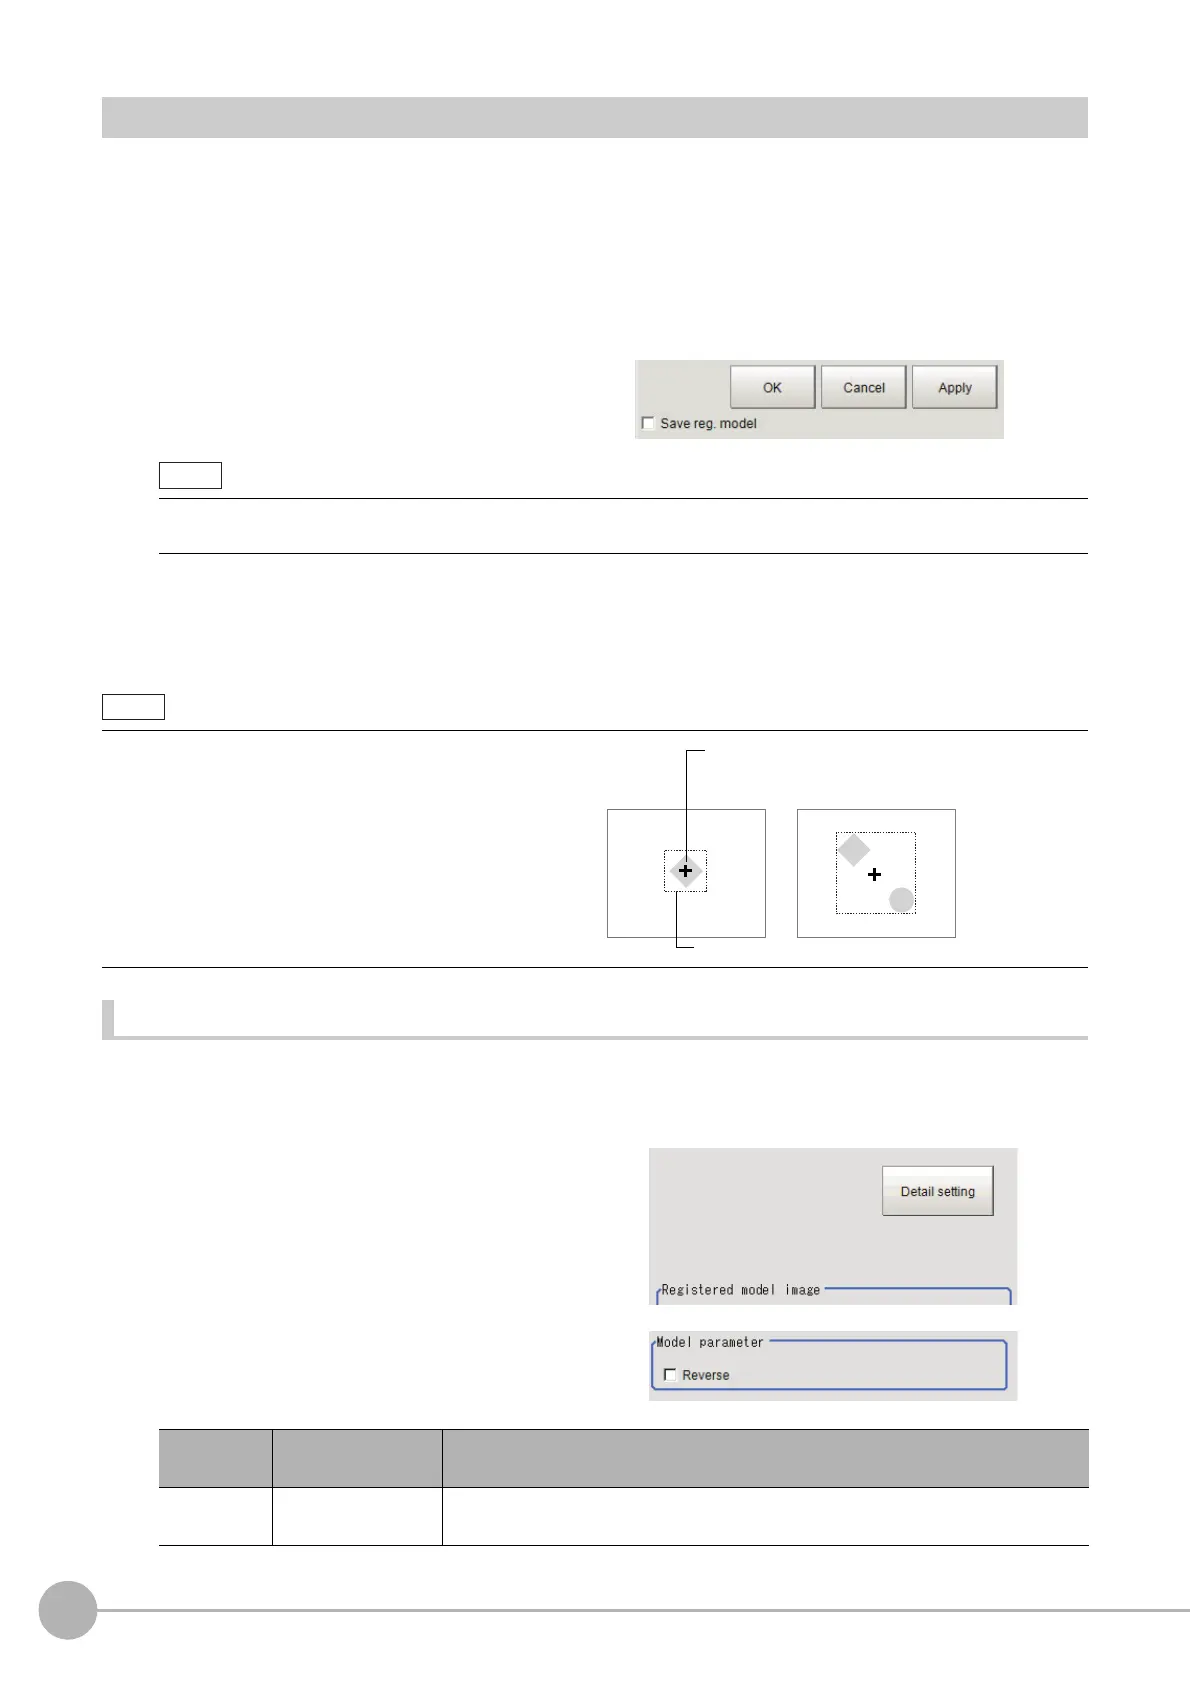
• When a model is registered, the
central coordinates of
the model are registered as the detection point. A
detection point is a point output as a measurement
value. If multiple targets are included in the same
model, the detection points become the central
coordinate of the bounding box that circumscribing
these targets.
Setting item
Set value
[Factory default]
Description
Reverse
• Checked
• [Unchecked]
Set whether to allow the reverse of light and dark for the model.
Model
Detection point coordinate
The user can change this to any desired position
in detection points tab.
 Loading...