Shape Search IIIFH/FZ5 Processing Item Function Reference Manual
177
2
Inspecting and Measuring
Detection Point (Shape Search III)
You can change the detection point on the Detection Point tab page. Set the detection point by specifying a point
in the detected model to use as a measurement coordinate. In default setting, the center position of the
registered model is set as the detection point.
The detection point can either be set directly, or by referring to a unit.
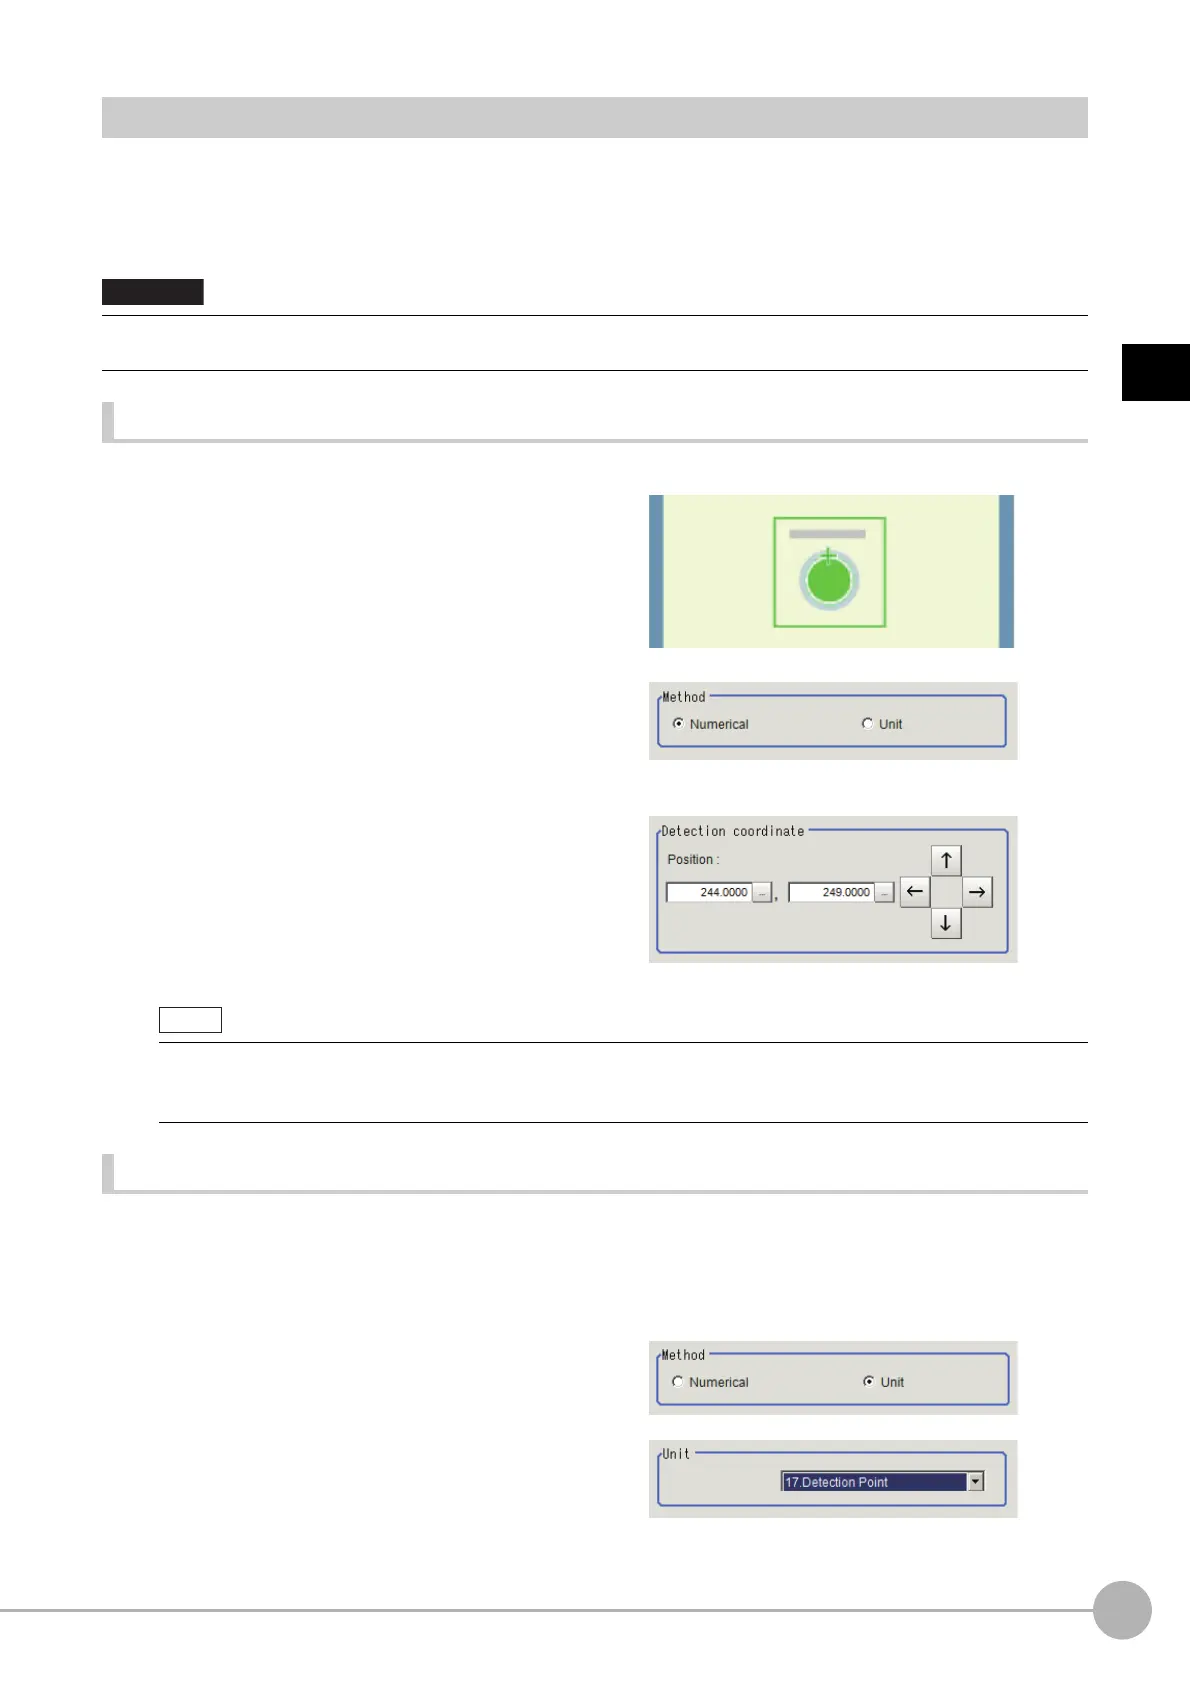
Set the detection point by directly entering numerical values (Numerical)
Click a position on the image you want to use as a detection point, or input coordinate data for that point.
1 Click the Detection point tab.
2 In the [Method] area, select [Numerical].
3 Click the position to be set as the detection point.
4 Make fine adjustments using numeric
value inputs or the arrow buttons as
required.
Set the detection point by referencing processing unit (Unit)
Set the detection point by referencing the Detection Point processing unit set in the measurement flow. In this
method, the position and angle are set based on measurement results, and thus they are more accurately set
than the Numerical setting method.
1 Click the Detection point tab.
2 In the [Method] area, select [Unit].
3 In the [Unit] area, select the Detection
Point processing unit in the current
Scene.
4 Perform the next measurement, and then the detection point will be applied.
• When you register a model, the center coordinate of the model will automatically be set as a detection point. If you want
to use other point, make sure to re-set it after a model registration.
• You can enlarge the image so that it is easier to click.
Reference: Appendixes Basic Knowledge about Operatio
ns
Using the Zoom Function in the Vision System FH/
FZ5 Series User's Manual (Cat. No. Z365)
 Loading...