1/05
9-4
DocuColor 12/DCCS50
Edit Pad Installation
Reissue
Installation Instructions
Figure 3 Route the Edit Pad Harness
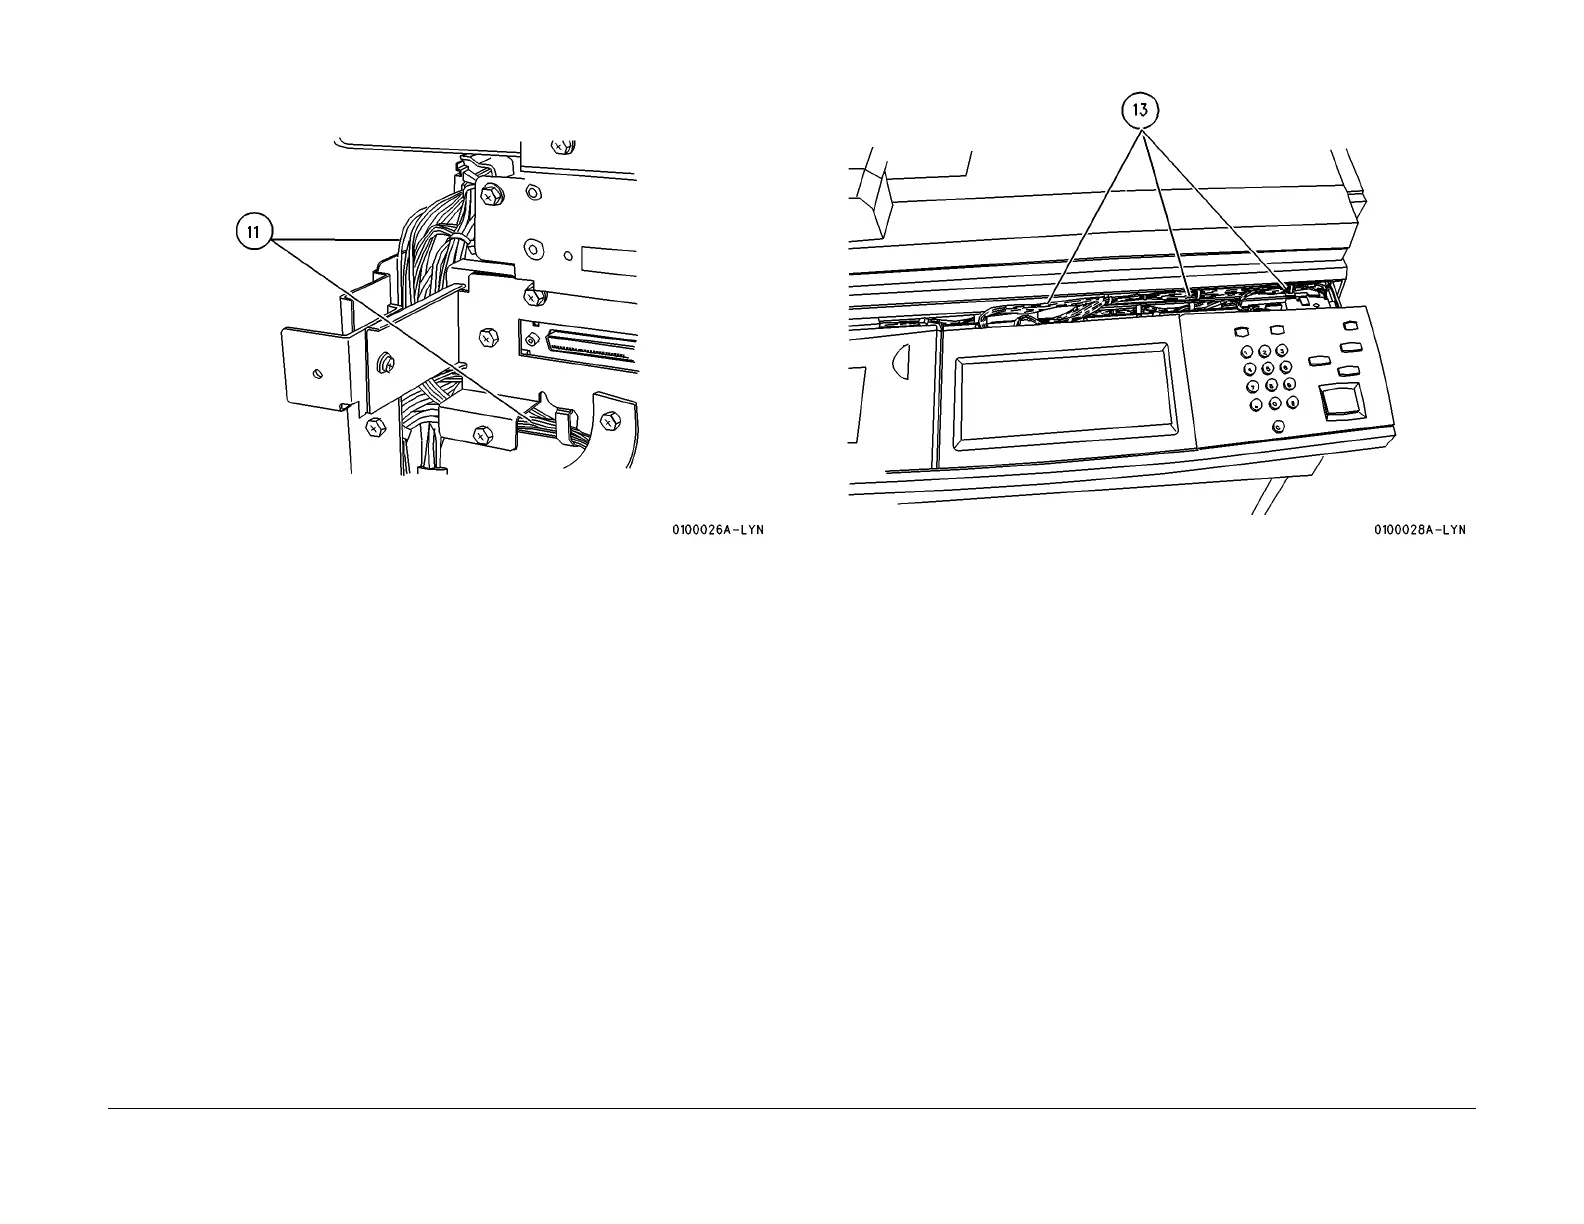
12. Remove the (2) screws securing the UI Assy and slide it forward to gain access to the har-
ness below. REP 9.5.1.
13.
Route the Edit Pad Harness up through the harness clamps behind the UI Assy.
(Figu
re 4)
Figure 4 Route the Edit Pad Harness
14. If TAG P24 is mark
ed off go to step 21.
15. Disconnect connectors P/J490, P/
J492 and P/J493 from the UI Assy.
16. Remove the UI Assy Bottom Plate to gain access to the UI PWB. (PL 9.5)
17. Disconnect connectors P/J486, P/
J484, P/J482A and J482B from the UI PWB.
18. Replace the UI PWB with the UI PWB supplied in kit 600K83650. (PL 9.
5)
19. Reconnect connectors P/J486, P/J484, P/
J482A and J482B to the UI PWB.
20. Reinstall the UI Assy Bottom Plate.
21. Connect Connectors P/J
490, P/J492 and P/J493.
22. Connect Connector J491 on the Edit Pad Harness to P491 on the UI PW
B.
23. Reinstall the UI Assy and secure with (2) screws. REP 9.5.
1
24. Disconnect the Video Cable and the Black Cable. Remove the CCD Cable Cover (2
screws) and dis
connect the CCD Cable. (Figure 5)
manuals4you.commanuals4you.com
 Loading...


