1/05
4-125
DocuColor 12/DCCS50
REP 8.3.3, REP 8.3.4
Repairs and Adjustments
Reissue
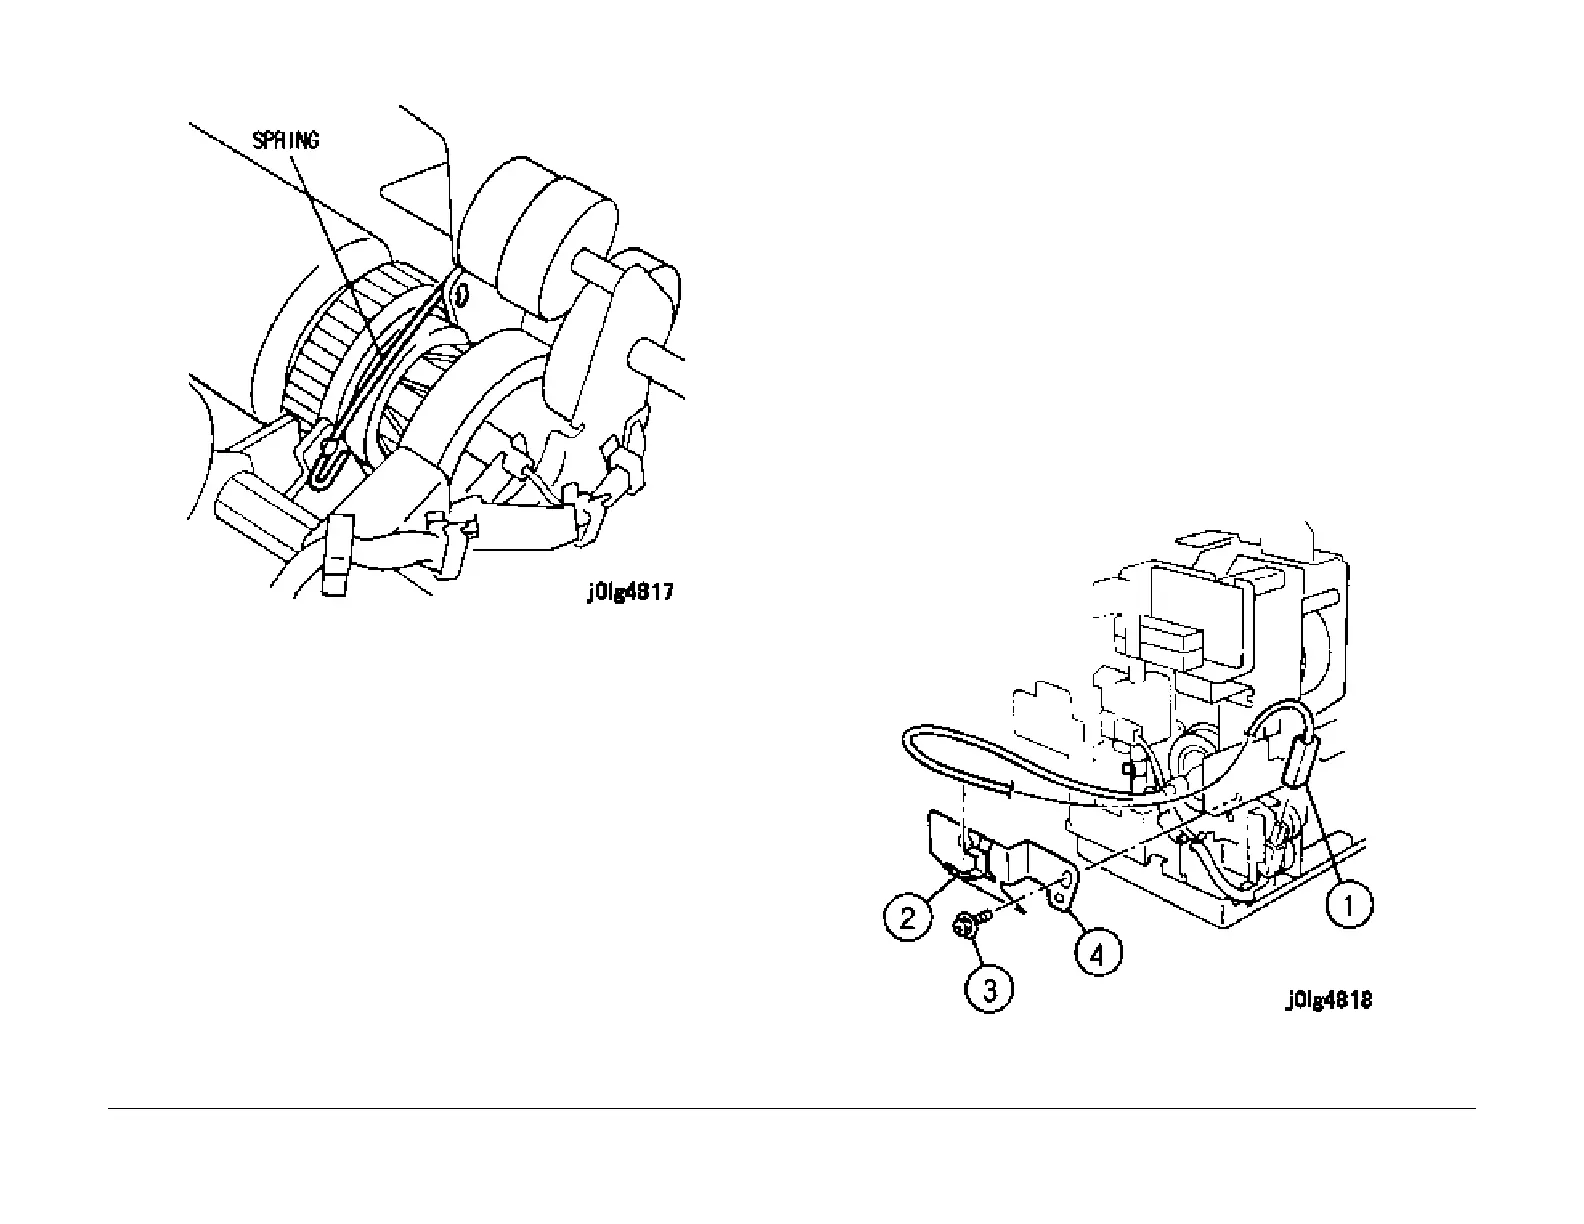
NOTE: Install the spring as shown in the figure below (Figure 6).
Figure 6 Install the Spring
CAUTION
After closing the Upper Frame Assembly, ensure that the two load springs are located correctly
at each end of t
he Donor Roll Assembly, The springs may become loose during service.
1. Reinstall the parts in the reverse order of disassembly.
2. Perform the Standard Fuser Break-In Procedure (GP
1 Fuser Break-In Procedure).
3. Perform the Fuser Nip Adjustment (ADJ 8.1.
1).
REP 8.3.4 Pressure Roll Heater Rod
Parts List on PL 8.3
Removal
WARNING
Turn power off and disconnect the power plug.
CAUTION
Since the Fuser is very hot, wait until the Fuser becomes sufficiently cold.
CAUTION
Do not touch the glass surface of the Heater Rod. I
f t
he glass surface is accidentally touched,
wipe it with a dry cloth.
1. Open the Front Door.
2. Remove the Fuser Unit (REP 8.1.
1).
3. Remove the Front Cover (PL 8.
1).
4. Remove the bracket (Figur
e 1).
1. Disconnect the connector.
2. Release the clamp and remove the wire.
3. Remove the screw.
4. Remove the bracket.
Figure 1 Remove the Bracket (Front of Fuser)

 Loading...


