1/05
4-213
DocuColor 12/DCCS50
ADJ 9.1.19
Repairs and Adjustments
Reissue
ADJ 9.1.19 Tray 2, 3, and 4 for 12 x 18 Paper
Purpose
To set Paper Trays 2, 3, and 4 to use 12 x 18 paper.
Adjustment
1. Remove the Paper Tray from the machine.
2. Remove the Rear Stop (PL 2.1) it
em 17.
3. Remove the Side Guide Plate (PL 2.
3) item 1.
4. Remove the Bottom Plate (PL 2.3) item
2.
5. Remove the (3) screws securing the Regi. Side Guide (PL 2.3) item
8. Position the guide
flush with the front wall and secure it with the (3) screws.
6. Remove the End Guide (PL 3.
2) item 10 by removing the E-rings and washers on the
underside of the tray.
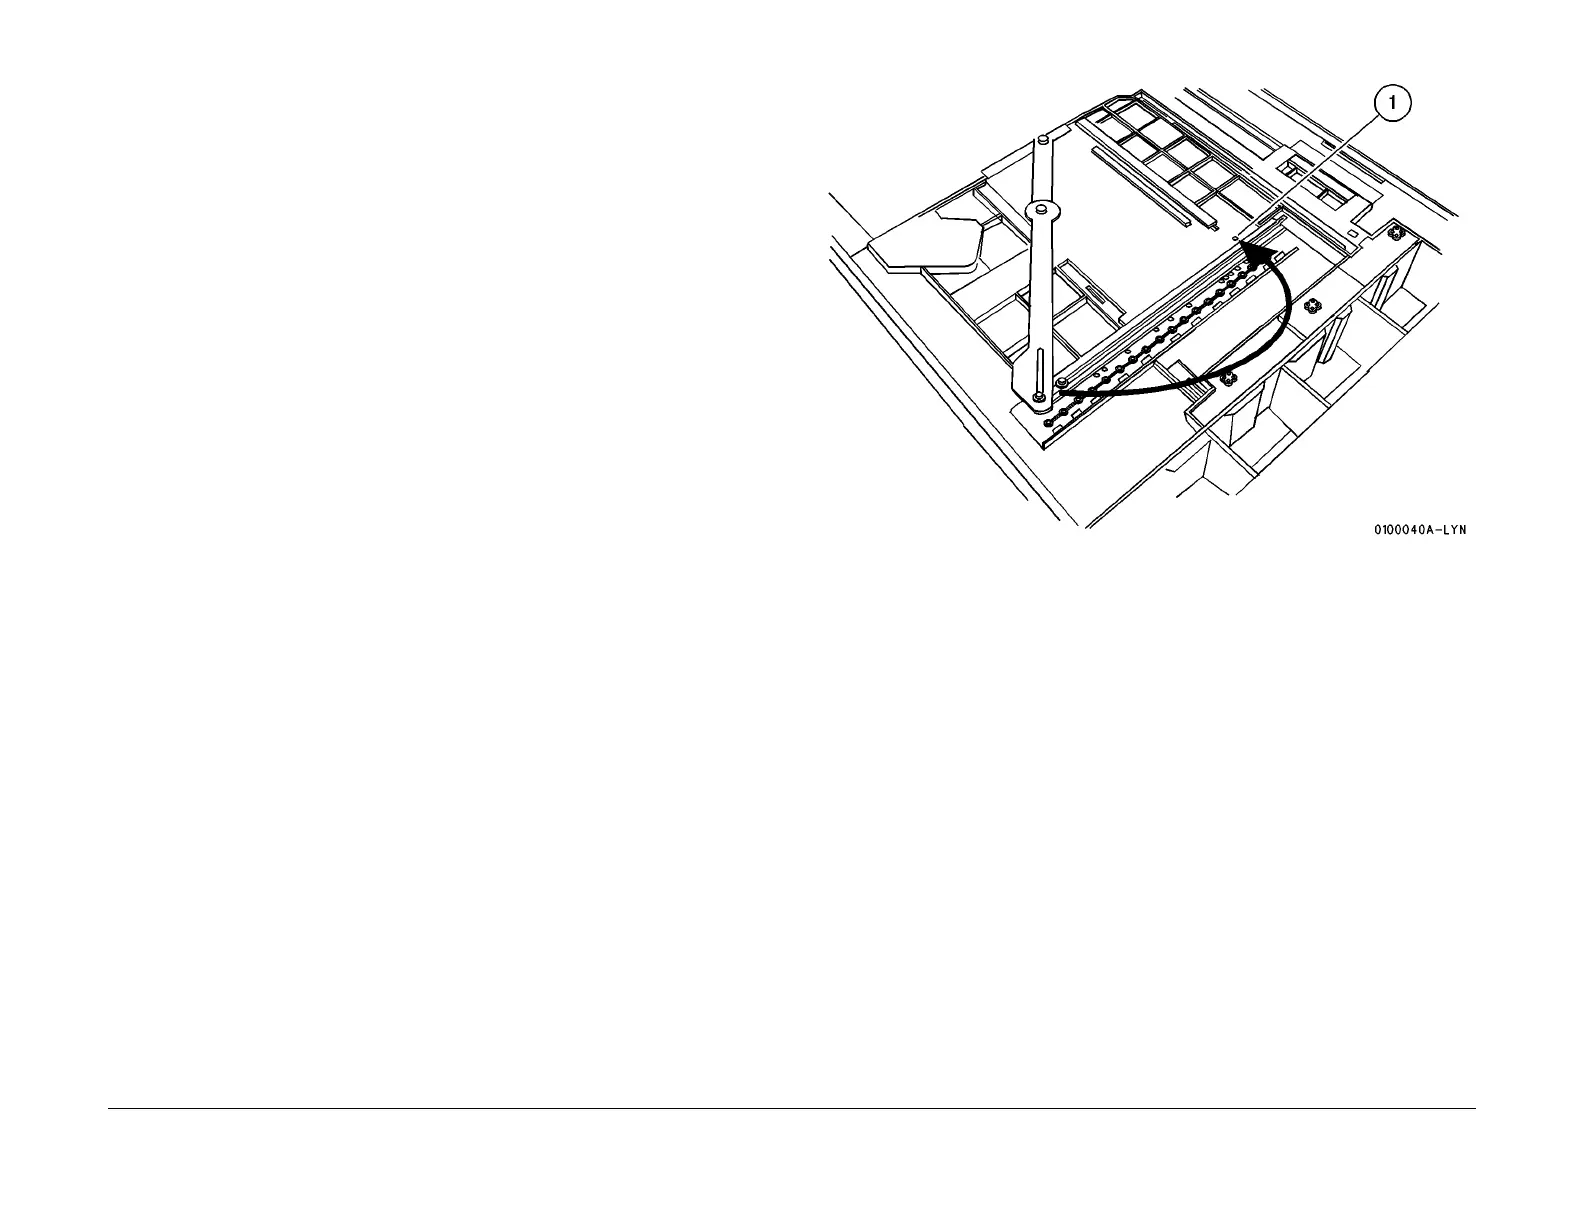
7. Slide the guide to align the slot (Figu
re 1).
1. Align the slot in the guide with the hole in the tray, and secure with a screw.
8. Install the Bottom Plate and the Side Guide Plate.
9. Install the tray into the machine.
10. Store the Regi. End Guide, E-rings, washers and the Rear Stop Bracket in the tray 1 stor-
age compartment.
NOTE: The UI will sense and display the 12 x 18 size for the modified tray.
NOTE: Paper specifications for Trays 2, 3, and 4; Standard Weight 16 to 24 #, Heavy
W
ei
ght 32 #.
NOTE: If heavy weight paper is to be fed from the modified tray a set up change is
required. Go
to Tools Management, disable Auto Tray and set up the modified tray for
Heavy Weight paper.
Figure 1 Align the Slot

 Loading...


