1/05
3-17
DocuColor 12/DCCS50
IQ 12 Bands, Lines, Smears, or Streaks RAP
Image Quality
Reissue
YN
Replace the Cleaner Assembly (PL 7.
1)
Check the IBT Belt for scratches lines or band. The IBT Belt is good.
YN
Replace the IBT Belt (PL 7.5).
Choose IOT Test Pattern #11 from the UI, or Test Pattern # 99 from the PWS, and make a
black, ye
llow, magenta, and cyan print of the test pattern. The defect appears in all four col-
ors.
YN
Replace the Developer for the problem color (PL
6.
6). If the problem continues, replace
the Developer Housing (PL 6.6).
• Check the photoreceptor, the corotron wire, and the corot
ron grid for defects or damage. If
any component is questionable, replace the Drum CRU (Machine Consumables).
• Check the Erase Lamp for dark spots. If the lamp is questi
onable, Replace the Erase
Lamp (PL 5.1).
• Clean the ROS of obstructions or contamination. If
the problem continues, replace the
ROS (PL 4.1).
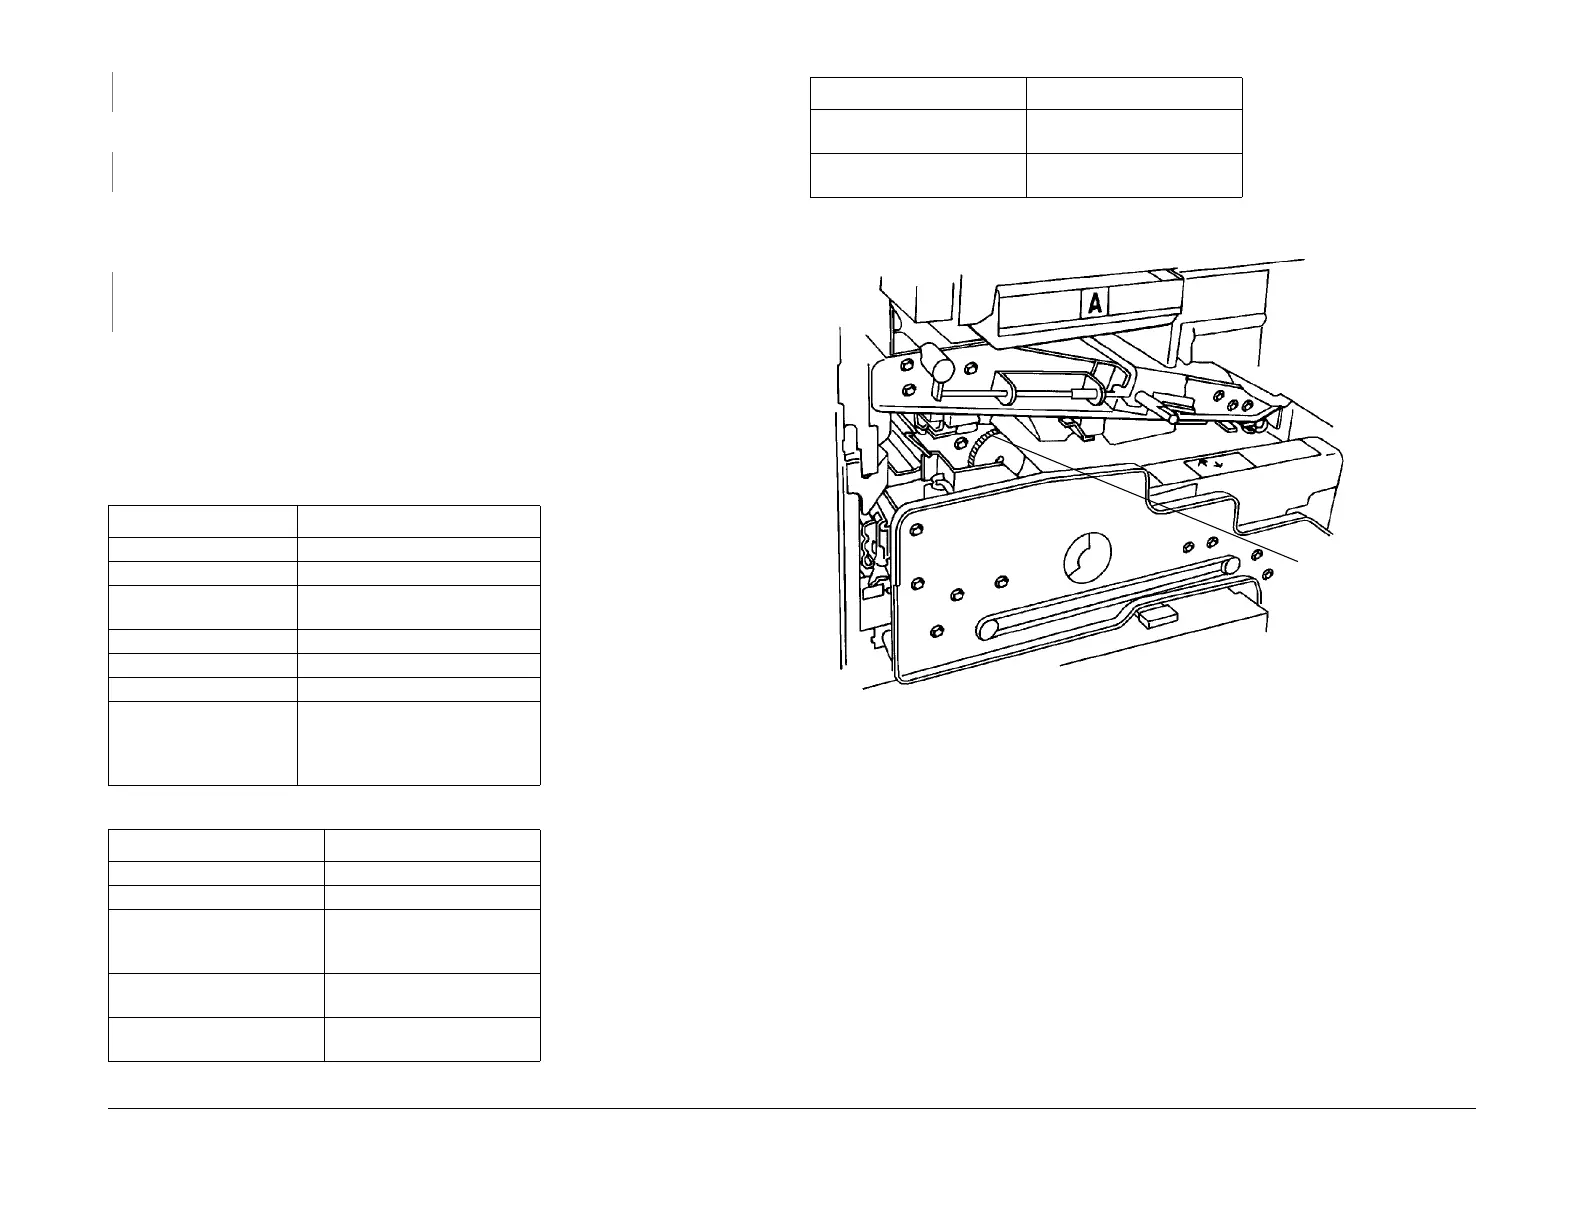
Figure 1 Registration Drive Gear
Table 1 Banding Intervals and Causes
Banding Interval in mm Component
0.51 ROS
1.02 ROS
6.6 Drum Motor (PL
1.
1), Main Motor
(PL 1.2)
39.14 Gears associated with Mag Roll
40.84 Gears associated with Mag Roll
52.78 Gears associated with IBT Roll
105.77 IBT Drive Assy which includes
double-gear 22/64T
(PL 1.1),
Drum Idler Gear (PL 1.1), and
IBT Drive Roll (PL 7.6)
Table 2 Checks For Other Banding Causes.
Problem to check for Corrective Action
Dirty Drum Gear Clean the Drum Gear
Loose Drum Flange Tighten Drum Flange
Dirty Corotron Wire/Corotron
Gr
id
Cl
ean with brush or replace
Drum CRU Machine Con-
sumables
Streak on IBT Hard stop to verify. Change
IB
T B
elt if defective
Streak on back side of copy. Check 2nd BTR Roll for dam-
age or contamination
White deletion streak from
lead edge to trail edge
Check for trimmer gap block-
age on developer mag rolls.
Poor Developer Bias Contact Clean/Replace the Bias
Brush (PL 6
.1)
Table 2 Checks For Other Banding Causes.
Probl
em to check for Corrective Action
Registration
Drive Gear

 Loading...


